

Genie Swing Linear Gate Opener Arm Installation Guide
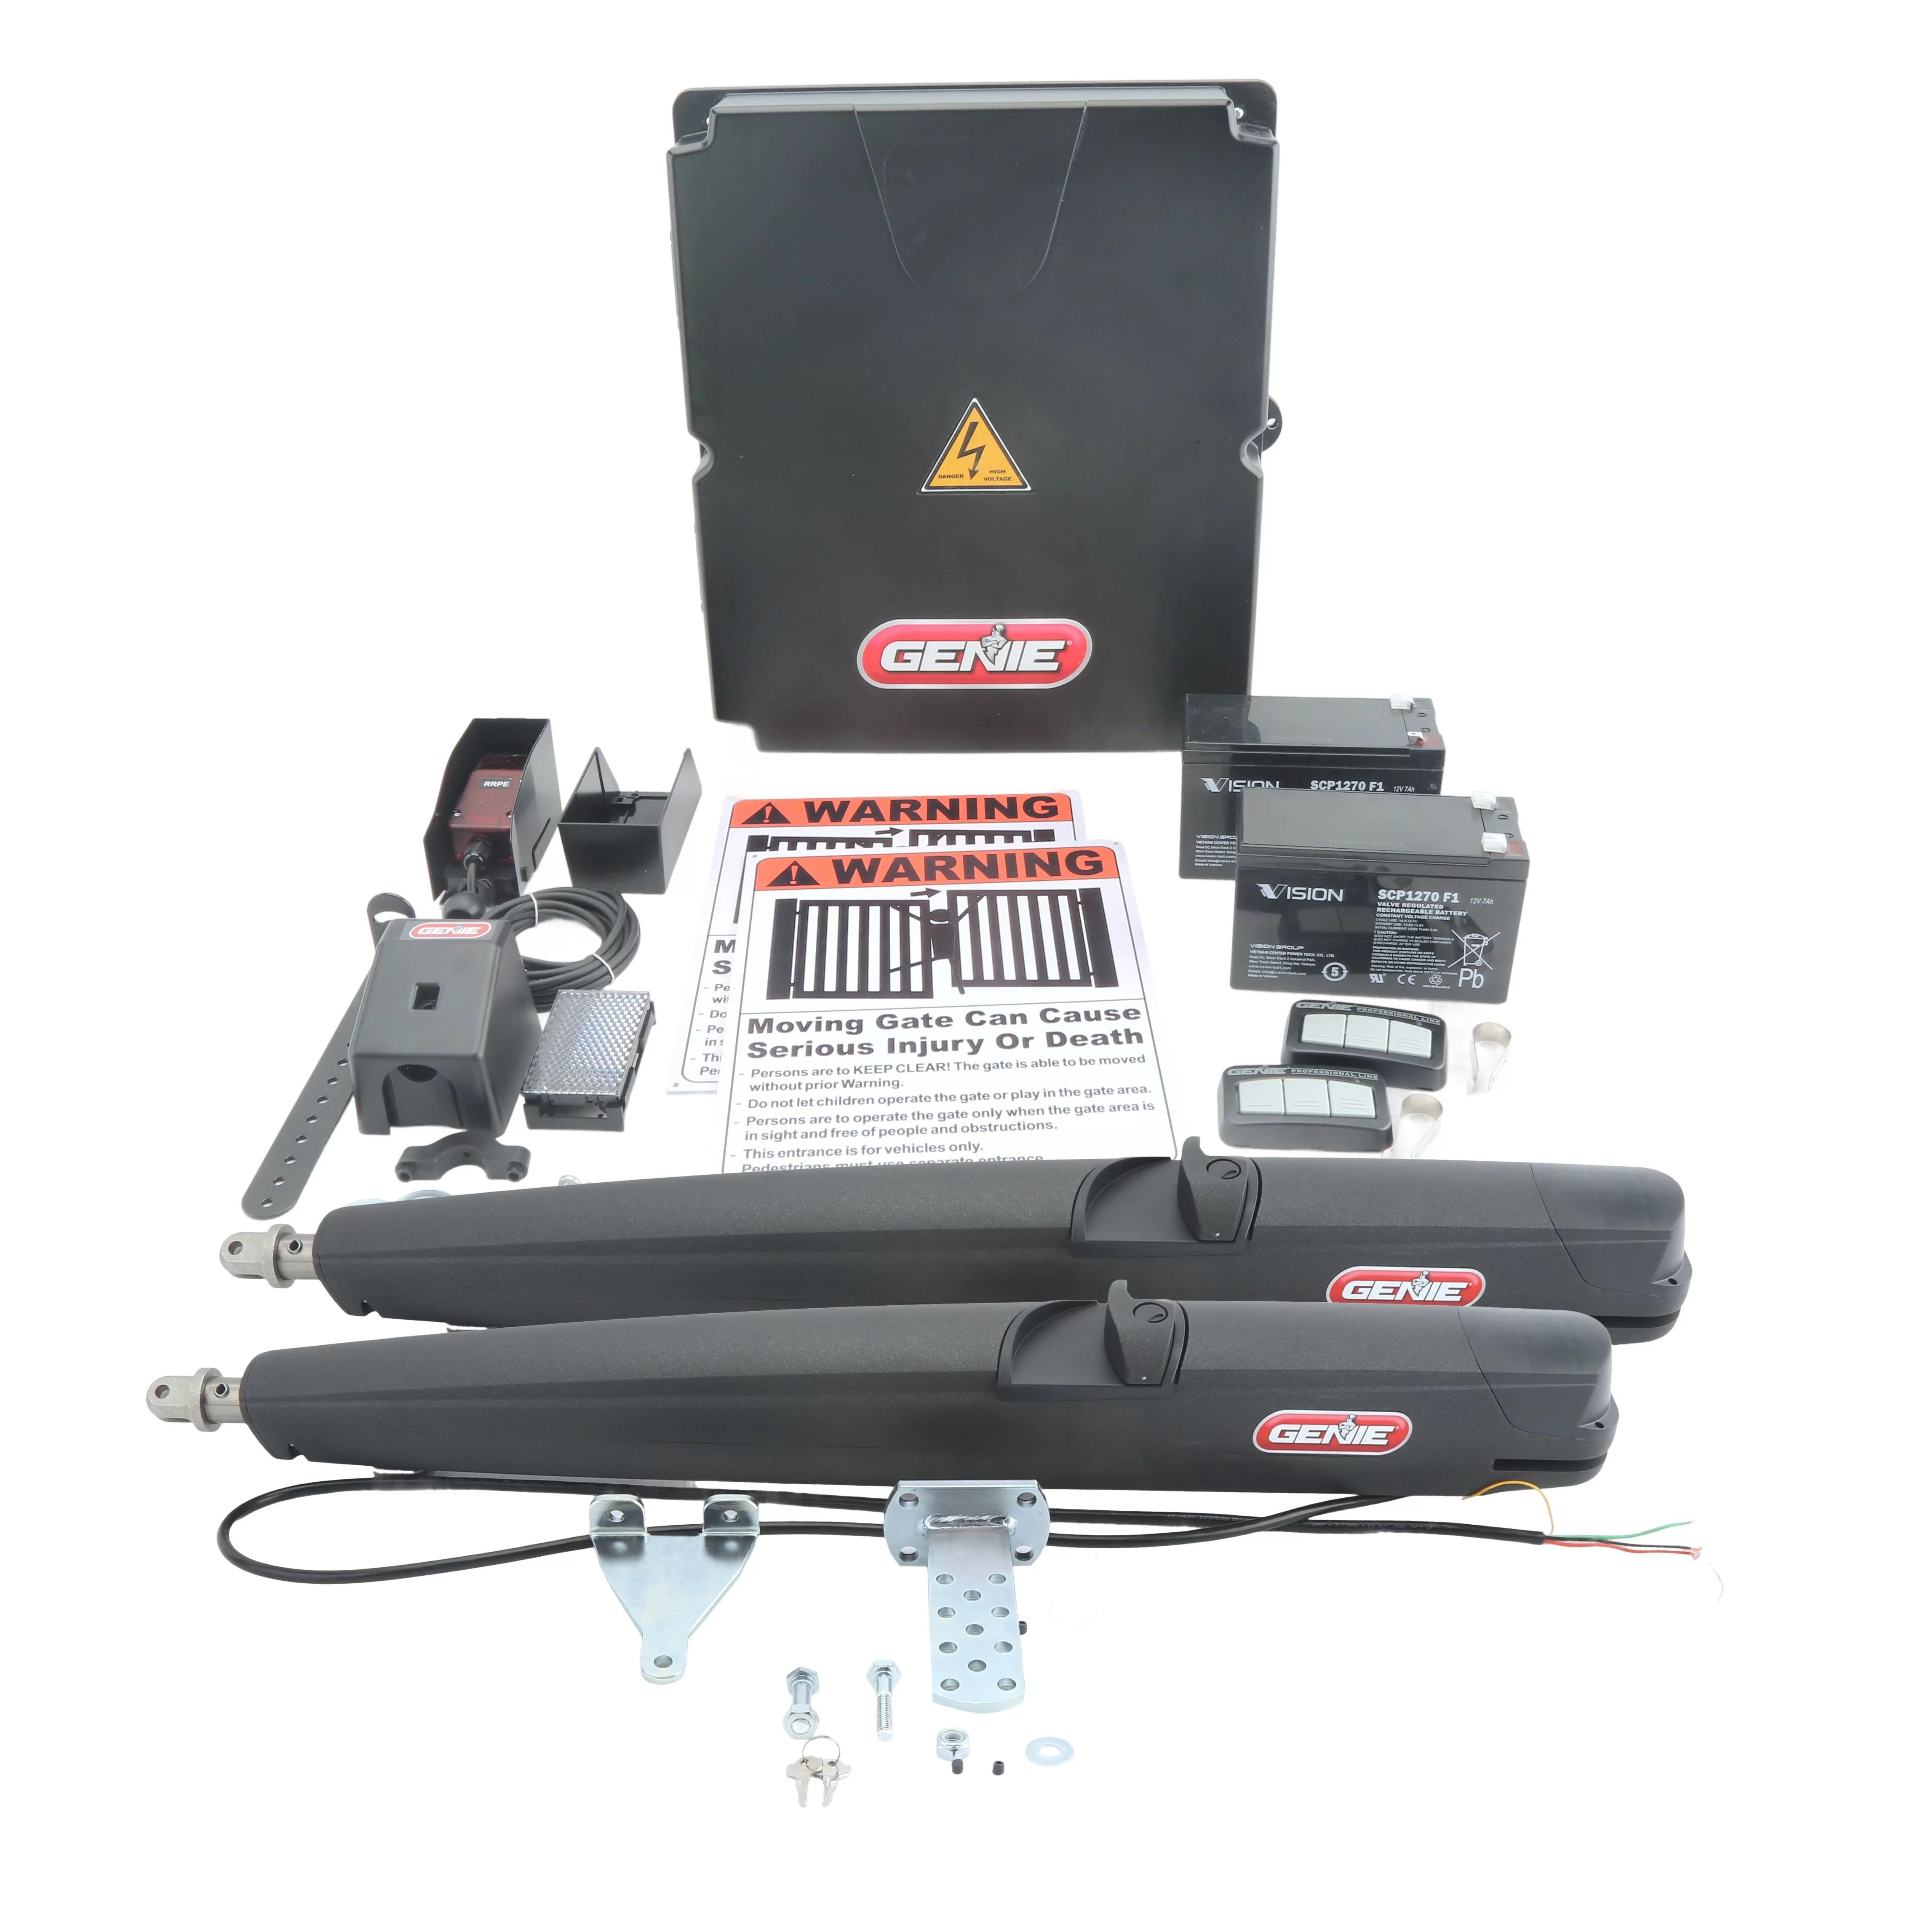
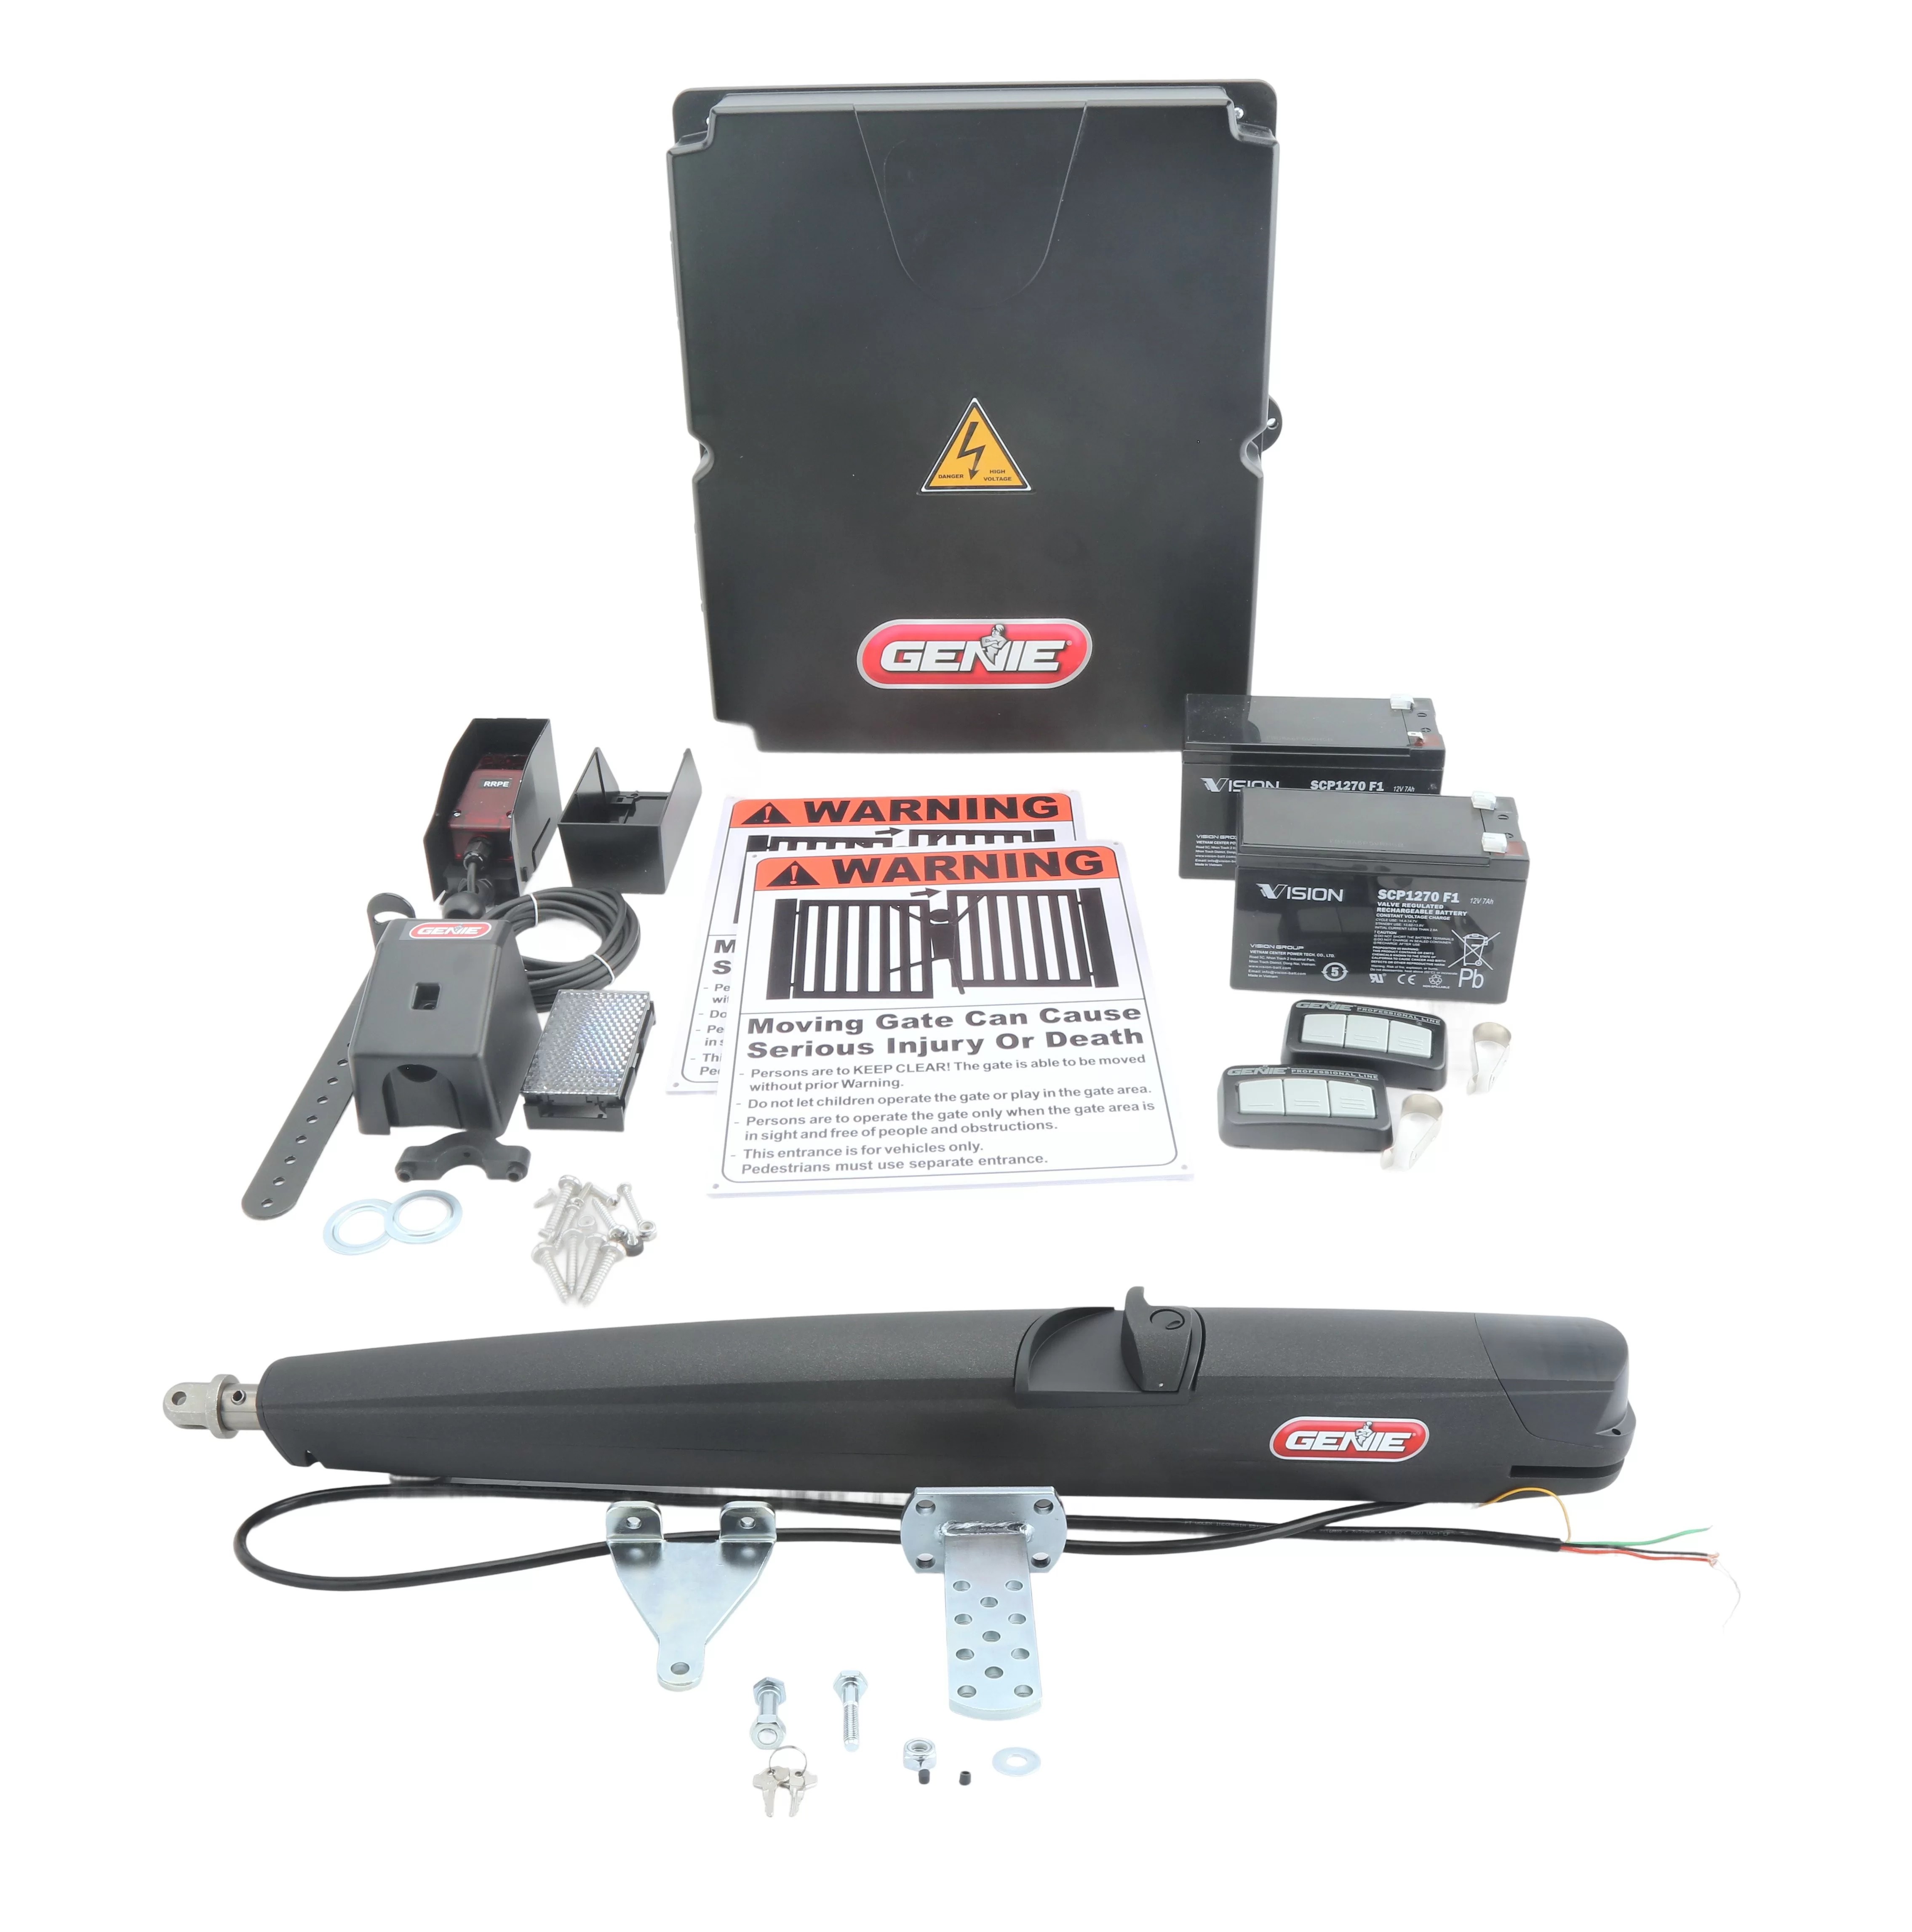
Installing the linear actuator arm is the most important mechanical step when setting up a Genie swing gate opener. This guide covers the GLA24V residential linear actuator and the GCSW36V commercial swing operator. The steps below are drawn from the official Genie installation and operation manuals, with direct links to the full PDFs so you or your technician can jump straight to the source diagrams and torque specs.
Reference Manuals
Before You Start
- Make sure the gate swings freely and the post is strong enough to handle the actuator force.
- Know your gate direction: pull-to-open (swings inward) or push-to-open (swings outward).
- Keep the operator powered off until the mechanical installation is complete.
Installation Steps
1. Attach the Brackets to the Actuator
- Connect the post bracket to the rear pivot of the Actuator.
- Connect the gate bracket to the front rod end.
- Use the included bolts and washers. Leave them slightly loose for now so you can adjust later.
2. Position the Actuator
For a standard pull-to-open gate:
- Mount the actuator body on the inside of the gate, just above the hinge line.
- Keep the actuator arm as close to perpendicular to the gate hinge as possible.
- Make sure the Actuator can fully extend when the gate is open and fully retract when the gate is closed.
3. Push-to-Open Gates
- Flip or reposition the gate bracket so the Actuator pushes the gate open.
- You may need an extra offset bracket so the Actuator does not hit the post.
- Check that the arm clears the post when the gate is closed.
4. Bolt the Brackets in Place
- Fasten the post bracket to the gate post or column with lag bolts or masonry anchors.
- Fasten the gate bracket to the gate frame on a solid rail or support bar.
- Hold the Actuator at the correct height while tightening so the arm stays neutral.
5. Check Movement and Tighten
- Open and close the gate by hand. The Actuator should slide in and out smoothly.
- If you feel binding or see the rod bending, loosen the brackets and adjust the angle.
- Once everything moves freely, tighten all bolts firmly.
GLA24V vs. GCSW36V Mounting Differences
| Feature | GLA24V (Residential) | GCSW36V (Commercial) |
|---|---|---|
| Duty cycle | Up to 150 cycles/day | Continuous duty capability |
| Gate leaf | Single or dual residential swing | Single or dual commercial swing |
| Arm mechanics | Linear actuator (telescoping tube) | Linear Actuator or articulated arm (model dependent) |
| Bracket hardware | Standard residential bracket kit | Heavy-duty commercial brackets |
Final Checks
- Confirm the Actuator does not touch the post or fence at any point.
- Verify smooth travel from fully closed to open fully.
- Test the emergency release if your model includes one.
- Install warning signs on both sides of the gate before applying power.
After the arm is installed and moving freely, you can proceed to wiring the control box, setting the limit switches, and installing safety devices.
Browse Our Arms & Swing Openers
If you have any further questions, please reach out to our representatives. They are happy to help in any way they can!
Contact Us